VM installation Android X86 problem collection (install x86, GRUB boot, skip the console interface)
The latest full version:
http://alvincr.com/2020/05/vm%e5%ae%89%e8%a3%85%e5%ae%89%e5%8d%93x86/
Create a virtual machine
PDF version link: Link: https://pan.baidu.com/s/11jZEzvC3PjBRQJxj8P_mUg Extraction code: ccrr
- Use typical
explanations
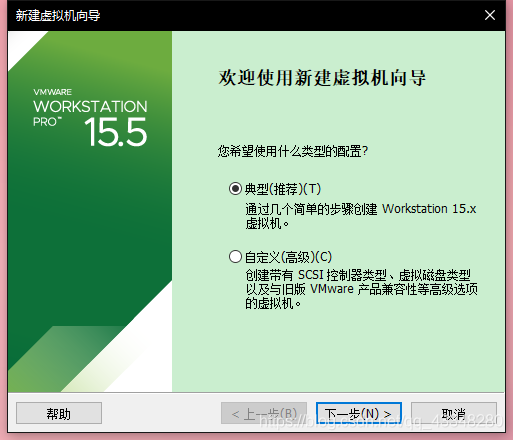
- Load the image file directly
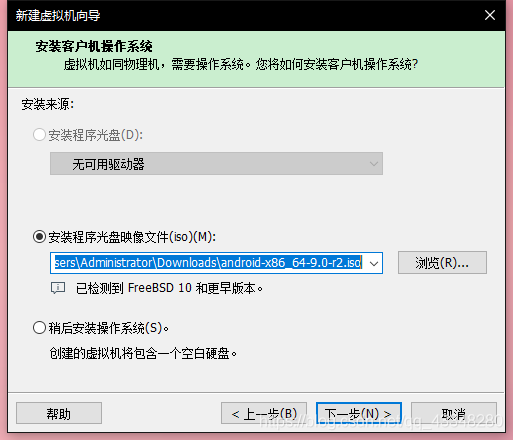
- The following all use the default operation to install.
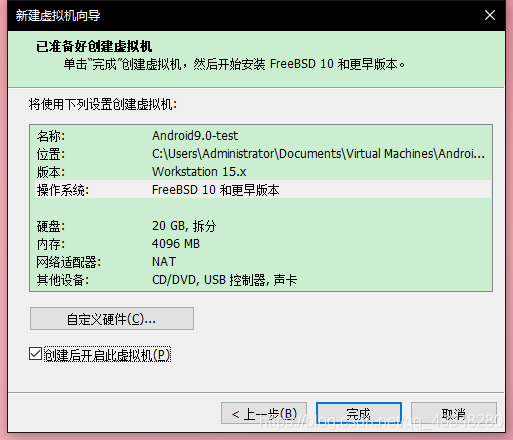
- Show that you are ready to customize the hardware when creating a virtual machine (you can also customize it in the virtual machine tab settings, or you can customize it in the startup interface), and start the virtual machine after creation.
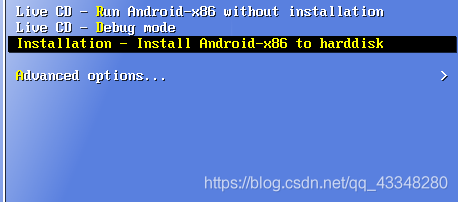
Install IOS image file
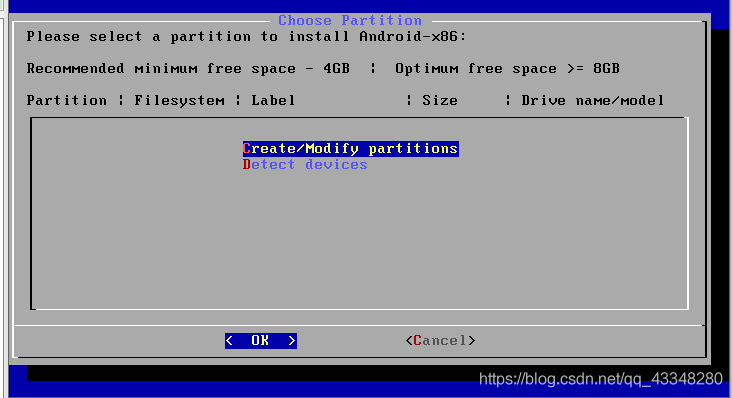
2.1 Wait for boot and choose to install to hard drive
2.2 Create a new partition
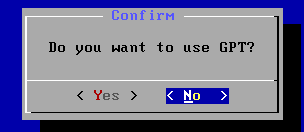
2.3 Do not use GPT to avoid BOOT failure.
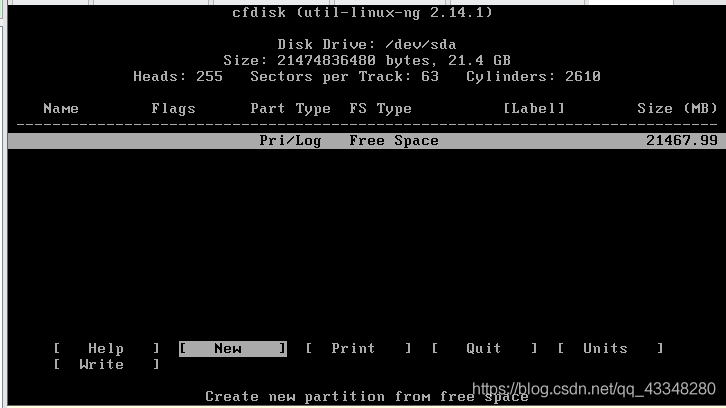
2.4 Create a new partition (new option)
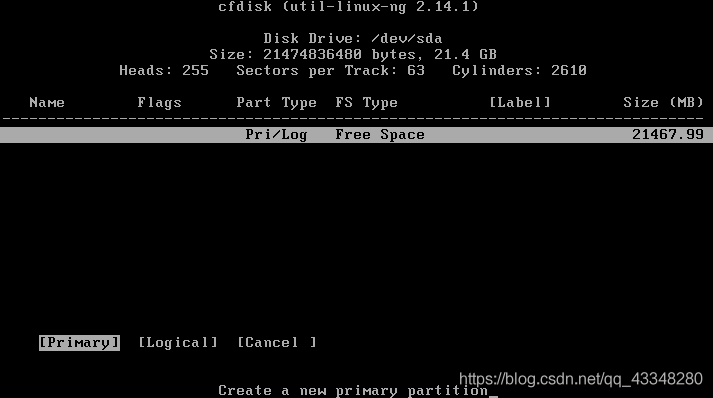
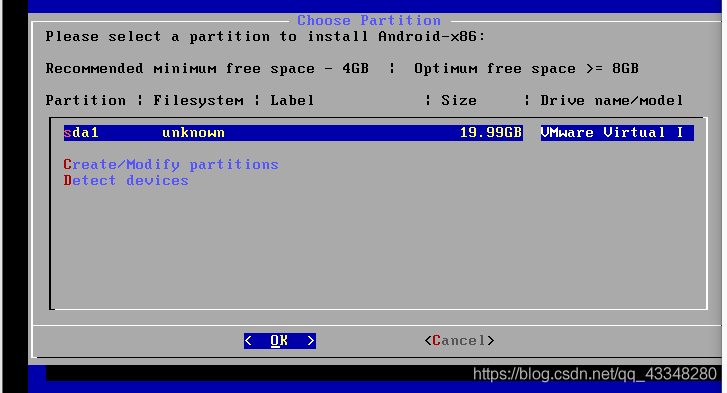
2.5 Select the first partition
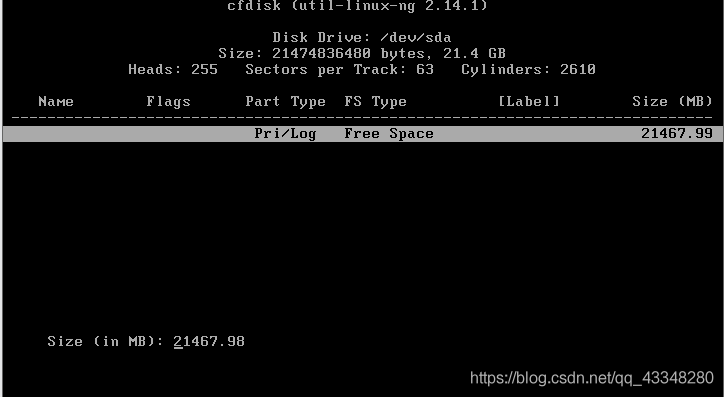
2.6 Customize the partition size. In order to facilitate the management, the SD card is not set, so use the default operation to divide all into one disk.
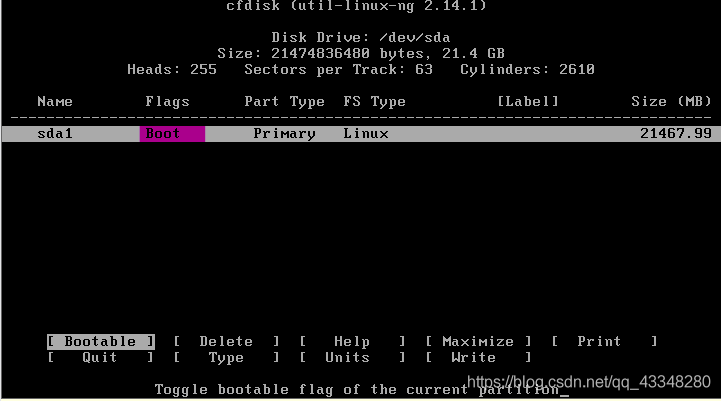
2.7 Select Bootable, the word Boot will appear in Flags
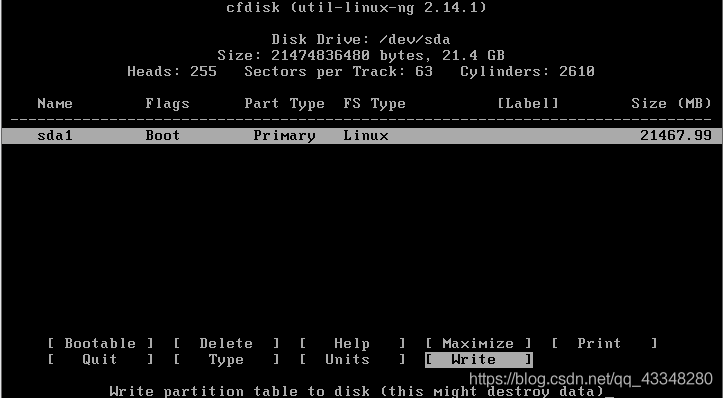
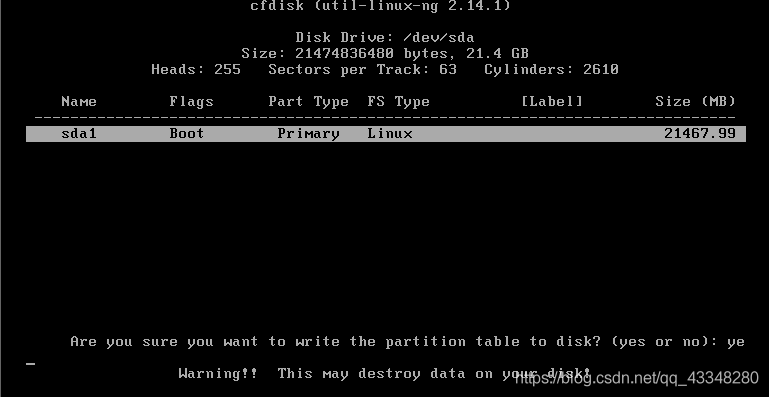
2.8 Select write for write operation, enter yes to confirm operation
2.9 Select Quit to exit. Since then, Android has created a new partition. Now let’s set up the boot
The following interface appears after Quit exits, use the default operation
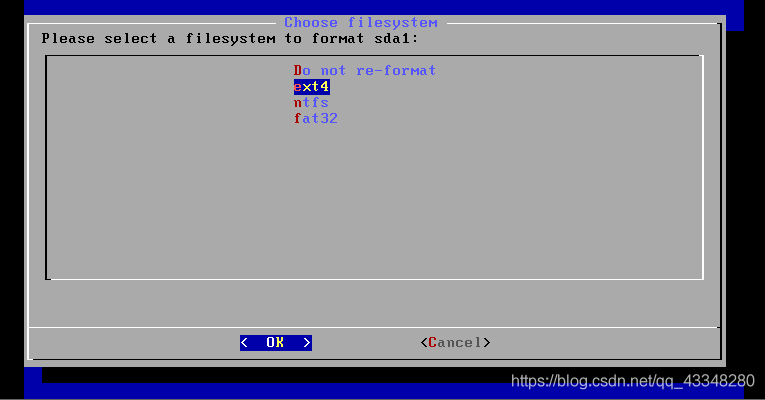
2.10 Choose ext4 for sda1 format, other formats are prone to BUG
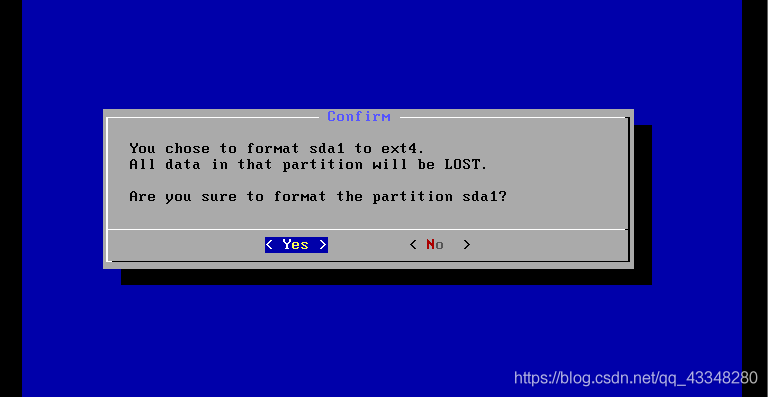
2.11 At this time, the installer will ask: You have chosen to format the first partition of the first hard disk as ext4. All data will be lost. Are you sure you want to format this hard disk? Select “Yes” and press Enter.
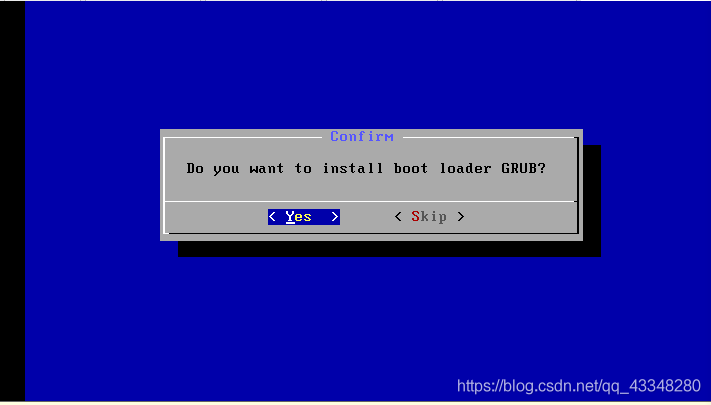
2.12 Choose to use GRUB boot program, or directly enter the system if not
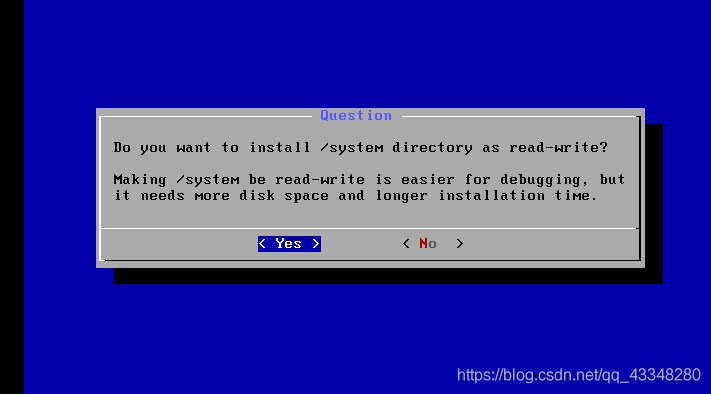
2.13 Read and write installation system directory
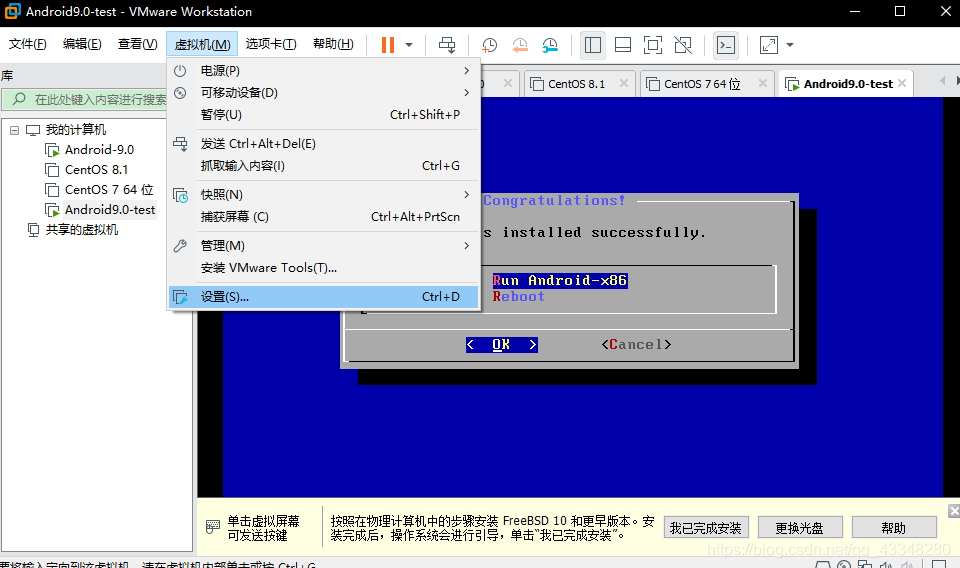
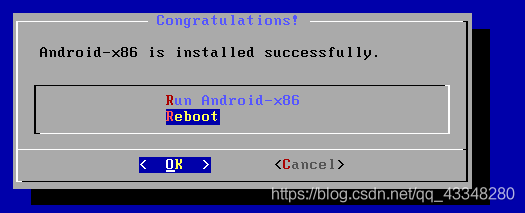
2.14 Do not perform any operation when this interface appears, because if you choose to run, it will generally not run. If you choose to restart, it will boot from the CD. Re-enter the installation, so you need to eject the CD.
Select the virtual machine tab, set the interface or use the shortcut key ctrl+d, close the ISO image, cancel the connected and connect at startup options.
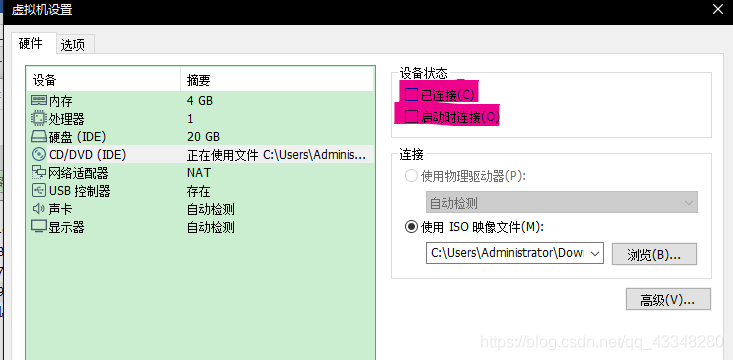
2.15 Confirm to disconnect

2.16 Select restart
Edit guide
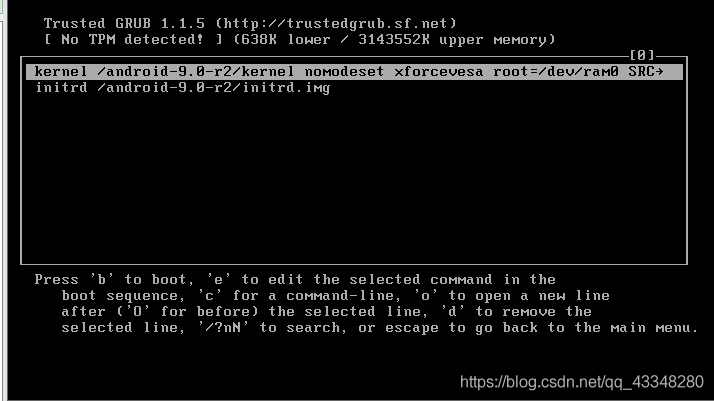
3.1 Enter the startup interface, press e to edit in the first tab, if you accidentally enter and restart the virtual machine, you can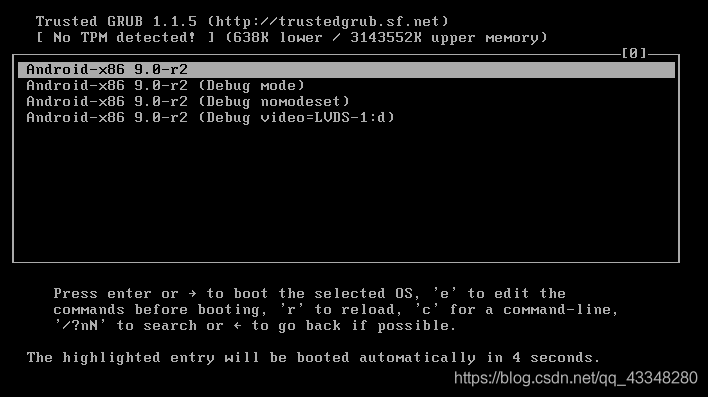
Enter the following interface, also press e to edit the first option
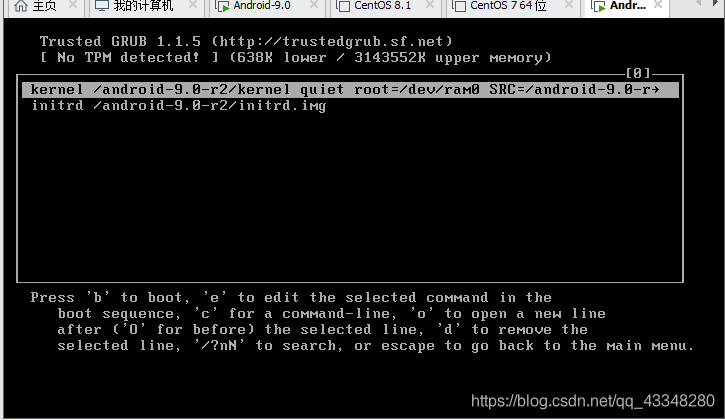
3.2
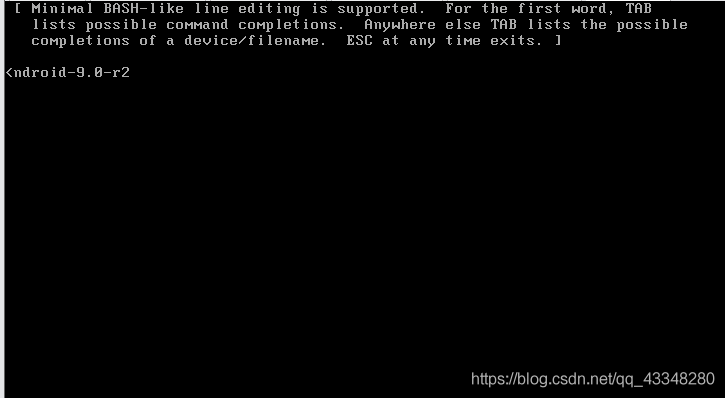
You can see the following interface. The <in ndroid-9.0 means that the display is not complete, so we need to move the cursor to the left and use the arrow on the left small keyboard to move it.
3.3 Find the quiet string, change it to nomodeset xforcevesa, and force it to start
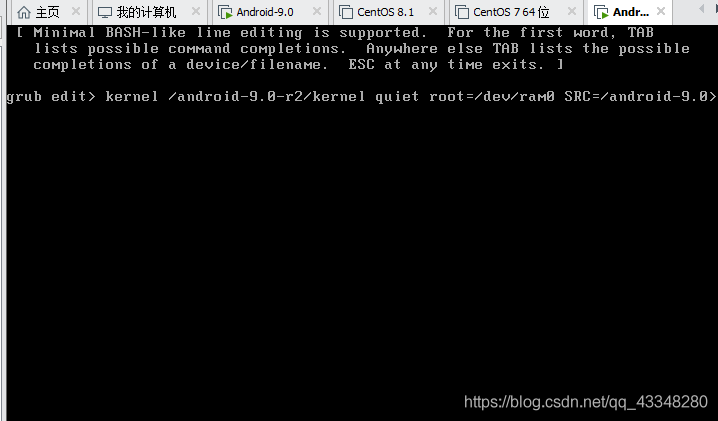
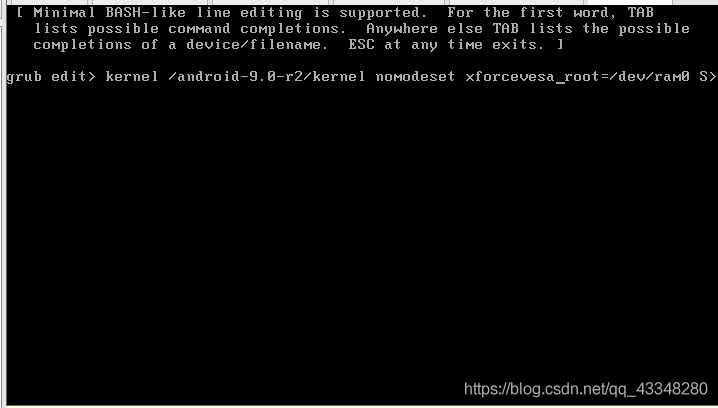
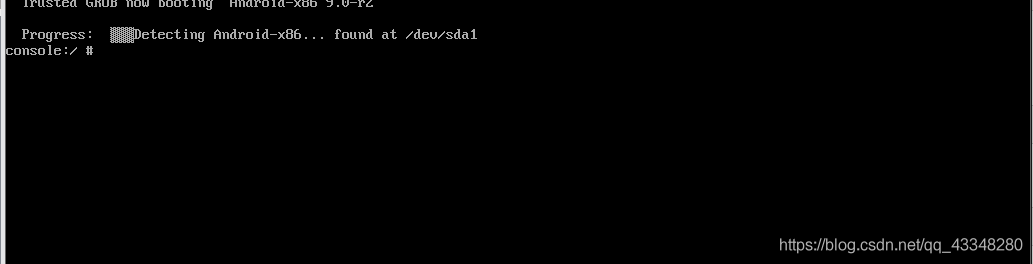
3.4 Press Enter to confirm and edit, press b on this interface to boot (ie boot), you can successfully enter the Android virtual machine
Change the default GRUB boot
After personal settings, you can successfully enter the system, but when you restart and select the first normal startup, you will find that you still enter the console interface. This is because the edited startup option does not save the record. It is only used during the first boot. There are two options: one is to re-operate according to the above steps every time you start, and the other is to change the grub boot as described below.
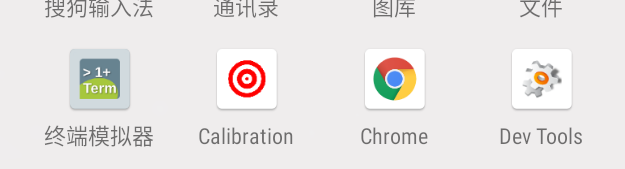
4.1 Use a terminal emulator to make changes, the personal test was not successful, and it was cumbersome, so it is not recommended
4.1.1 Use a terminal emulator in the operation interface
[External link image transfer failed. The source site may have an anti-leech link mechanism. It is recommended to save the image and upload it directly (img-Ai4jQTCi-1587275020721)(media/f8c4f06f5d83e815c5d9bc14aee69001.png)]
切换到root模式
his
Confirm the format of the partition, you can see that the format of the partition sda1 is “ext4”
mount | grep sda1
[External link image transfer failed. The source site may have an anti-leech link mechanism. It is recommended to save the image and upload it directly (img-CRk5EZ7R-1587275020723)(media/1c98a92fafc5df2ef94c97966f3ff84d.png)]

Create mount folder
mkdir /data/fs
Mount folder
mount -t ext4 /dev/block/sda1 /data/fs
Edit grub
vi /data/fs/grub/menu.list
Modify the line as follows,
title Android-x86 8.1-rc1
kernel /android-8.1-rc1/kernel root=/dev/ram0 androidboot.selinux=permissive
SRC=android-8.1-rc1 nomodeset xforcevesa
Note: Add “nomodeset xforcevesa” at the end of the line, if there is “quiet” please delete
Restart and test
Reboot
4.2 Select Debug mode on the startup interface
Reference: https://blog.acesheep.com/index.php/archives/938/ (take a of your own Android9.0 screenshot , lower version is also feasible
Press Enter to enter the debugging command and wait for the system operation to complete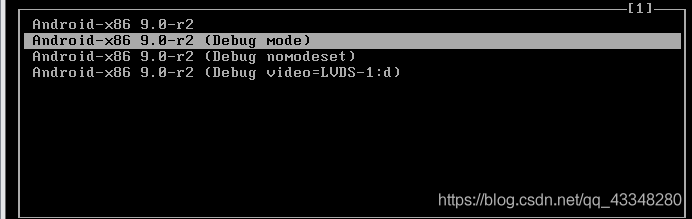
Type mount -o remount,rw /mnt and press Enter ( rw
there is a space after , pay attention to the following picture, the description is correct, continue to the next command
Then enter vi
/mnt/grub/menu.lst and press Enter to appear below, and change the position marked in red, add nomodeset_ to the space after quiet at the red line in the above figure. ()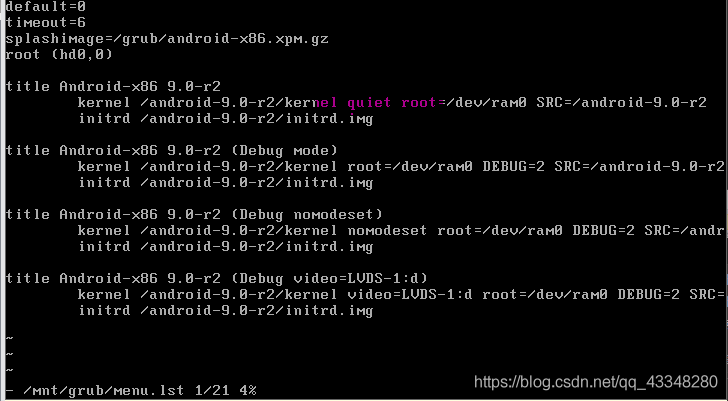
Remarks: The operation is a Linux command. First press the i key to start the editing operation before you can enter it. After changing, press the Esc key to exit the editing command, and then press the key, enter wq, and restart the virtual machine.
Since the higher version of the Android virtual machine can automatically adjust the resolution, the following settings can be ignored. If you want to set the resolution,
add UVESA_MODE=1280x1024 at the end of the startup parameter.
Finally: Install Vmtools on Android. I have not solved it after a long time. And Android mirror: Link:
https://pan.baidu.com/s/11F5Bzsihrzf02QPQSawJYg Extraction code: ccrr
Transmission scheme:
Link: https://answer-id.com/71010441
Share files between the Windows host and the Android-x86 client. All you need is a network sharing program that supports the Samba (SMB) protocol. I use AndSMB to download from the Play Store for free and it is very good. You create a new connection with a hostname, you can provide credentials or connect as a guest. To connect as a Guest, you can check the anonymous box, but if this doesn’t work, I will give the user pcname guest and a blank password, where pcname is the network name of your computer. You can see all shared folders when you open the connection. All you have to do is copy the files you want to a shared folder that can be accessed from AndSMB! You can also browse all Android folders and upload required files to the shared folder, provided that you have set read/write access permissions for all users (including Guest accounts).